

A spray bottle of plain white vinegar can earn a spot in a regular bathroom cleaning routine, especially around the outside of the toilet. It can help loosen light mineral residue, cut through splash marks and dried drips, and reduce some lingering toilet odors on nearby surfaces. What it does not do is replace a true disinfecting step or remove every hard water stain by itself.
If you want the short answer, spray vinegar around the toilet for routine maintenance, not for every problem. It works best on the toilet base, the floor right around it, the outer bowl, and the hard-to-reach area around seat hinges when there is light grime or a thin chalky film. Skip it on natural stone floors, avoid mixing it with other cleaners, and do not expect it to fully descale a neglected toilet or sanitize a bathroom on its own.
Where vinegar is useful around the toilet
For everyday bathroom cleaning, vinegar is most helpful on exterior surfaces that collect splashes, dust, and light hard-water residue. In many homes, that means the porcelain outside of the bowl, the toilet base, the floor immediately around the base, and the spots around the seat hardware where damp grime collects.
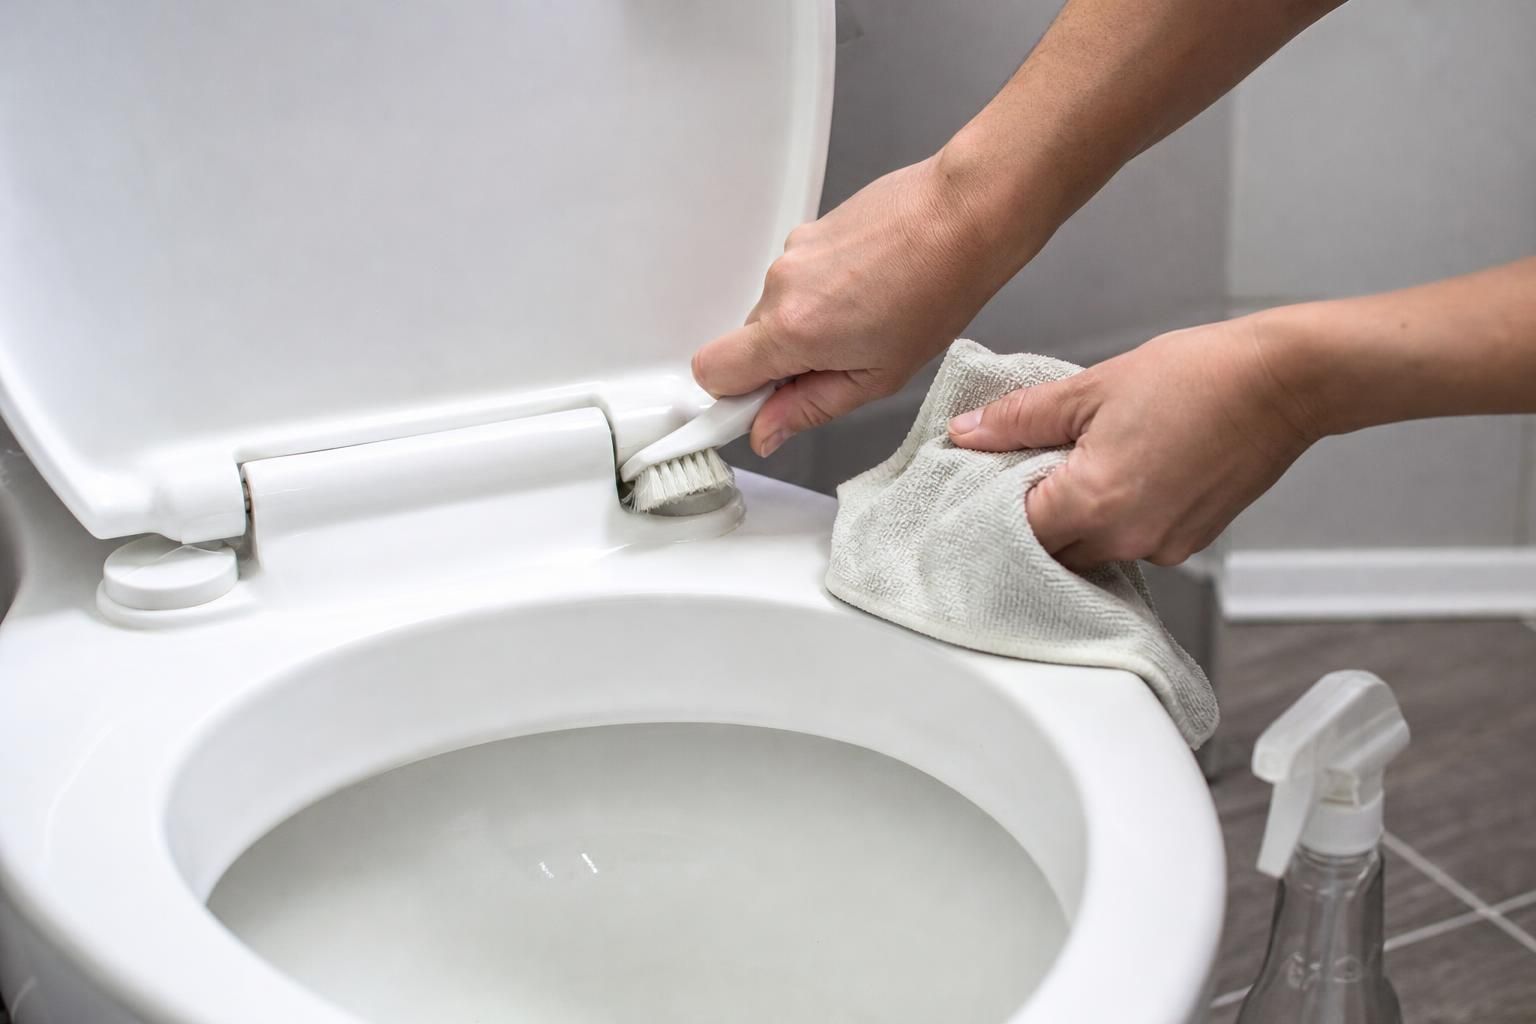
Use plain white vinegar in a spray bottle. Spray enough to lightly wet the surface without running all over the floor. On a standard toilet base, that is usually 6 to 10 sprays. Let it sit for about 5 minutes so it can soften dried residue. Then wipe with a microfiber cloth or a soft cleaning rag. For tight spots around seat hinges, use an old soft toothbrush or a small detail brush after the 5-minute wait, then wipe dry.
Vinegar is especially practical for these areas:
- The outer bowl and tank front: good for fingerprints, dust, and light splash marks.
- The toilet base: useful where dried mop water, splash-back, or a faint mineral line forms near the floor.
- Seat hinges and bolt covers: helpful for loosening buildup in crevices.
- Nearby floor splashes: works on dried drips on ceramic or porcelain tile.
If you are cleaning weekly, one pass is often enough. If the surface looks dull, has a faint white haze, or feels slightly rough when dry, spray again and give it another 5 minutes before wiping.
How to spray around the base, hinges, and floor without making a mess
A simple order makes the job faster and keeps grime from spreading. Start with dry cleanup first. Use toilet paper or a dry cloth to remove loose dust, hair, or lint from the floor and around the base. Then spray vinegar on the dirtiest lower areas first so it has time to work while you wipe higher surfaces.
Toilet base
Spray the front curve of the base, both sides, and the narrow seam where the toilet meets the floor. Let it sit for 5 to 10 minutes. Wipe from top to bottom. If the seam has trapped grime, wrap a damp cloth around a thin plastic card or use a soft brush to reach into the edge. Dry the area after wiping so it does not keep attracting dust.
Seat hinges
Raise the seat and lid. Spray lightly around the hinge covers and the mounting points. Do not flood the hardware. Wait 5 minutes, then scrub gently with a small brush. Wipe with a damp cloth, then dry. If you leave vinegar pooled around metal hardware too long, it can be hard on some finishes, so keep the contact time short and wipe it away fully.
Nearby floor splashes
Spray only the washable floor area within about 12 to 18 inches [30 to 46 cm] around the toilet. Let it sit 3 to 5 minutes, then wipe or mop with warm water. This step is useful on sealed ceramic or porcelain tile. It is not the right choice for marble, travertine, limestone, or other natural stone because acid can etch the finish.
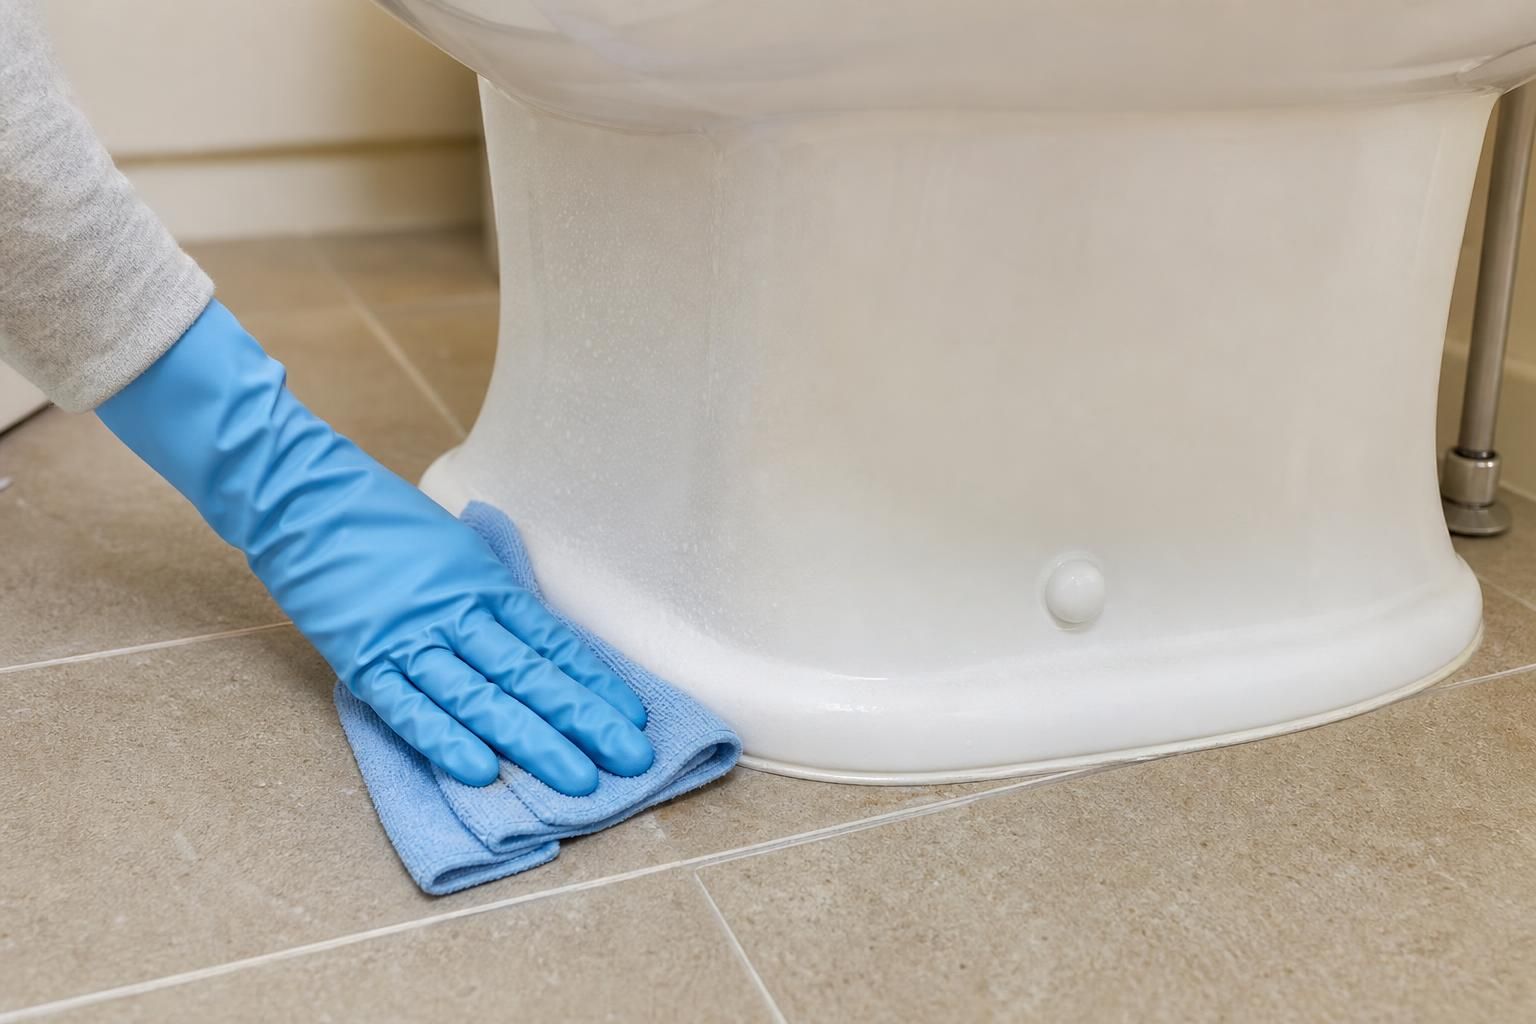
If odor is the main issue, clean the floor and base first, not just the bowl. A lot of what people describe as toilet odors actually hangs on dried splashes around the toilet and on the lower sides of the bowl exterior. Vinegar can reduce those smells by removing the residue that holds them, but that is deodorizing through cleaning, not full sanitation.
What vinegar cannot do well around a toilet
Vinegar has limits, and those limits matter if you want the bathroom to actually look and smell cleaner.
It is not the best choice for heavy hard water stains inside the bowl, especially thick brown or white crust that has built up over a long time. For that level of scaling, repeated vinegar use may soften the outer layer, but it usually will not remove the entire deposit quickly. You may need a stronger descaling approach made for toilets and suitable for the bowl material.
It is also not a stand-in for disinfection. If someone in the house is sick, or if you are cleaning high-touch surfaces such as the flush handle, seat top, and surrounding bathroom touch points, use a product labeled for disinfecting and follow its contact time exactly. Spraying vinegar and wiping it right away may make the area look cleaner and smell fresher, but that is not the same as sanitizing.
Another place to use caution is specialty finishes. Painted walls near the toilet, unsealed grout, damaged caulk, and some metals can all react poorly if vinegar sits too long. A quick wipe on a small hidden spot is a smart first check.
Where not to use vinegar in the bathroom
One of the most common mistakes in toilet maintenance is treating vinegar like an all-purpose bathroom spray for every surface. It is not. Skip it on:
- Natural stone floors: marble, slate, travertine, limestone, and similar stone can etch.
- Stone vanity tops: the same acid issue applies.
- Unsealed grout: repeated acidic cleaning can wear it down.
- Damaged caulk: frequent soaking can speed breakdown.
- Some metal finishes: especially if you let it sit instead of wiping it off.
Also never mix vinegar with bleach or with another cleaner already on the surface. If you used a different toilet or floor product first, rinse with plain water and wipe dry before bringing vinegar into the routine.
How often to use vinegar around the toilet
For most bathrooms, vinegar works best as a light maintenance step once or twice a week. In a busy family bathroom, a quick exterior spray and wipe every 3 to 4 days can keep splashes from turning into stubborn buildup. In a guest bath that gets light use, once a week is usually enough.
Try this practical routine:
- Two times a week: spray the base, outer bowl, and nearby tile; wait 5 minutes; wipe dry.
- Once a week: lift the seat and clean around hinges and bolt covers with a small brush.
- Once a month: check for white haze, rough spots, or odor at floor level and repeat a second vinegar pass if needed.
In summer, when bathrooms can stay warmer and more humid, grime and odor can cling faster around the toilet base and floor. That is a good time to stay consistent with short, frequent wipe-downs instead of waiting for visible buildup.
Simple habits that make vinegar work better
The biggest mistake is spraying and wiping immediately. Vinegar needs a few minutes on the surface to soften dried residue. Aim for 5 minutes on light grime and up to 10 minutes on a chalky ring around the base, then scrub if needed.
The second common mistake is using too much. A heavy soak can run into places that are harder to dry, especially around hardware and caulk lines. Light coverage is enough.
Third, follow with a water wipe when the surface is in regular contact with skin, like the seat area or lid edges. That removes the vinegar smell and any loosened residue. Then dry with a clean cloth.
If you want a routine that stays realistic, think of vinegar as a maintenance cleaner for the outside of the toilet and the small floor zone around it. It can help with light mineral film, dried splashes, and some odor-causing residue. For thick scale, deep bowl stains, or true disinfecting, bring in the right product for that specific job.