
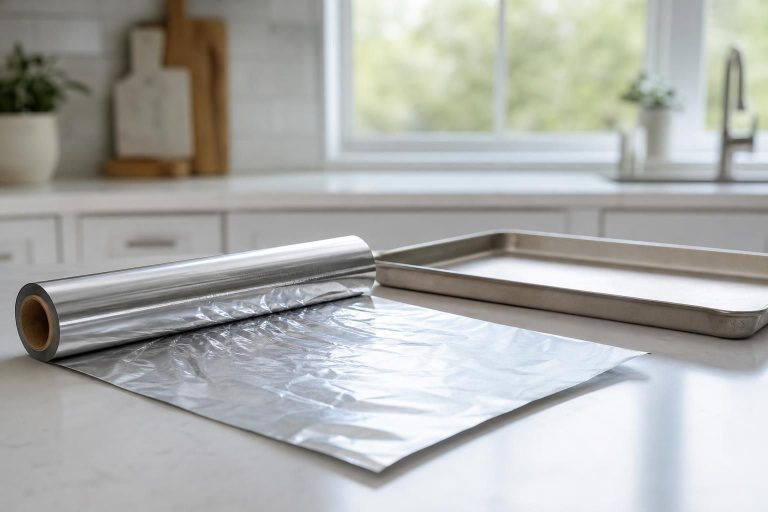
You pull out a sheet of aluminum foil, pause for a second, and wonder which side should face the food. Here’s the direct answer: with regular household foil, the shiny side and the dull side work the same for most everyday cooking and storage. In a typical US kitchen, you can roast vegetables, cover a casserole, wrap a sandwich, or line a pan with either side facing in.
The times when side choice does matter are specific: nonstick foil and other specialty foil products are usually made for the food to touch one designated side, and the package will tell you which one. If the box says “nonstick side up” or gives a side-specific direction, follow that instruction. If it is plain foil with no special coating or printing, pick the side that is easier for you to handle and move on.
Why foil has two sides in the first place
Most standard aluminum foil ends up with one shiny side and one dull side during manufacturing, when sheets are rolled very thin. For home use, that visible difference does not translate into a meaningful cooking difference in the oven, on a baking sheet, or around leftovers. What matters more is how tightly you wrap the food, whether you seal the edges, and whether the foil can handle the heat level you are using.
That clears up one of the biggest kitchen basics mistakes: assuming shiny always means “out” and dull always means “in.” For standard foil, that rule is not needed. The better rule is this: use the side the manufacturer recommends only when the foil is labeled nonstick, insulated, heavy-duty for grilling, or otherwise specialty-made.
Roasting and baking: use either side, but focus on fit and airflow
For roasting vegetables at 400 to 425°F [204 to 218°C], tenting a chicken breast, or covering a casserole for the first part of baking, either side of regular foil is fine. The results depend much more on how you place it.
- To cover a casserole: Crimp the foil around the rim so steam stays inside. If you want the top to brown at the end, remove the foil for the last 10 to 15 minutes.
- To tent meat: Make a loose tent instead of pressing the foil directly onto the food. Leave about 1 inch [2.5 cm] of space above the surface so heat can circulate.
- To line a sheet pan: Press the foil into the corners and leave a little overhang on two sides for easier lifting and cleanup.
For cookies, biscuits, or anything delicate on the bottom, parchment paper is often the better choice than cooking with foil. Parchment helps prevent sticking without oiling the pan, and it is especially useful for sticky foods like roasted sweet potato wedges with maple glaze or salmon brushed with a sugary sauce.
A practical choice for baking looks like this:
- Use foil when you want easy cleanup, a covered dish, or a packet that holds in moisture.
- Use parchment when you want less sticking, easy cookie release, or less pan scrubbing after sugary drips.
- Use a lid when your baking dish already has one that fits tightly.
One common mistake is letting foil touch exposed oven heating elements. Keep foil fully inside the pan or wrapped around the food, with no loose flaps sticking up. If a sheet is too large, trim it or fold the edges under.
Grilling and foil packets: side choice matters less than thickness and sealing
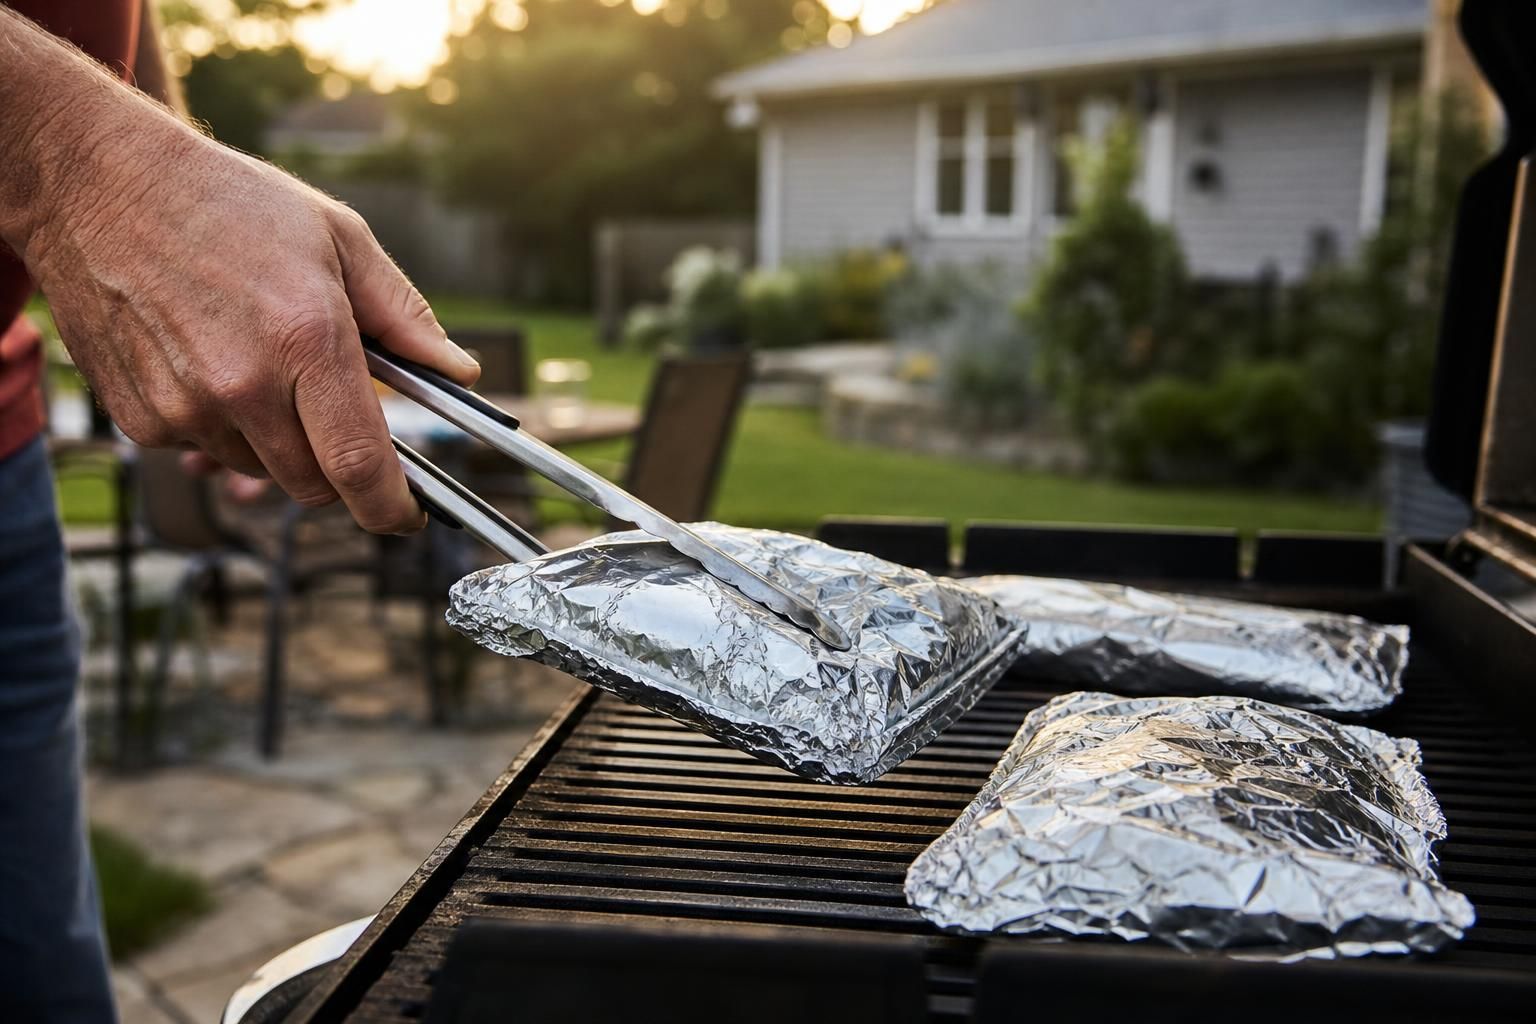
On the grill, standard shiny-side versus dull side foil still is not the deciding factor. The bigger issues are durability and whether juices can leak out. For foil packets with vegetables, shrimp, or sliced potatoes, heavy-duty foil is often more convenient because it resists tearing when moved with tongs.
For a simple foil packet, place the food in the center, add 1 to 2 tablespoons of oil or other liquid if needed, fold the long sides together first, then fold the short ends inward two or three times to seal. Leave a little headspace so steam can circulate. Grill over medium or medium-high heat, depending on the food, and place packets over steady heat rather than direct flare-ups.
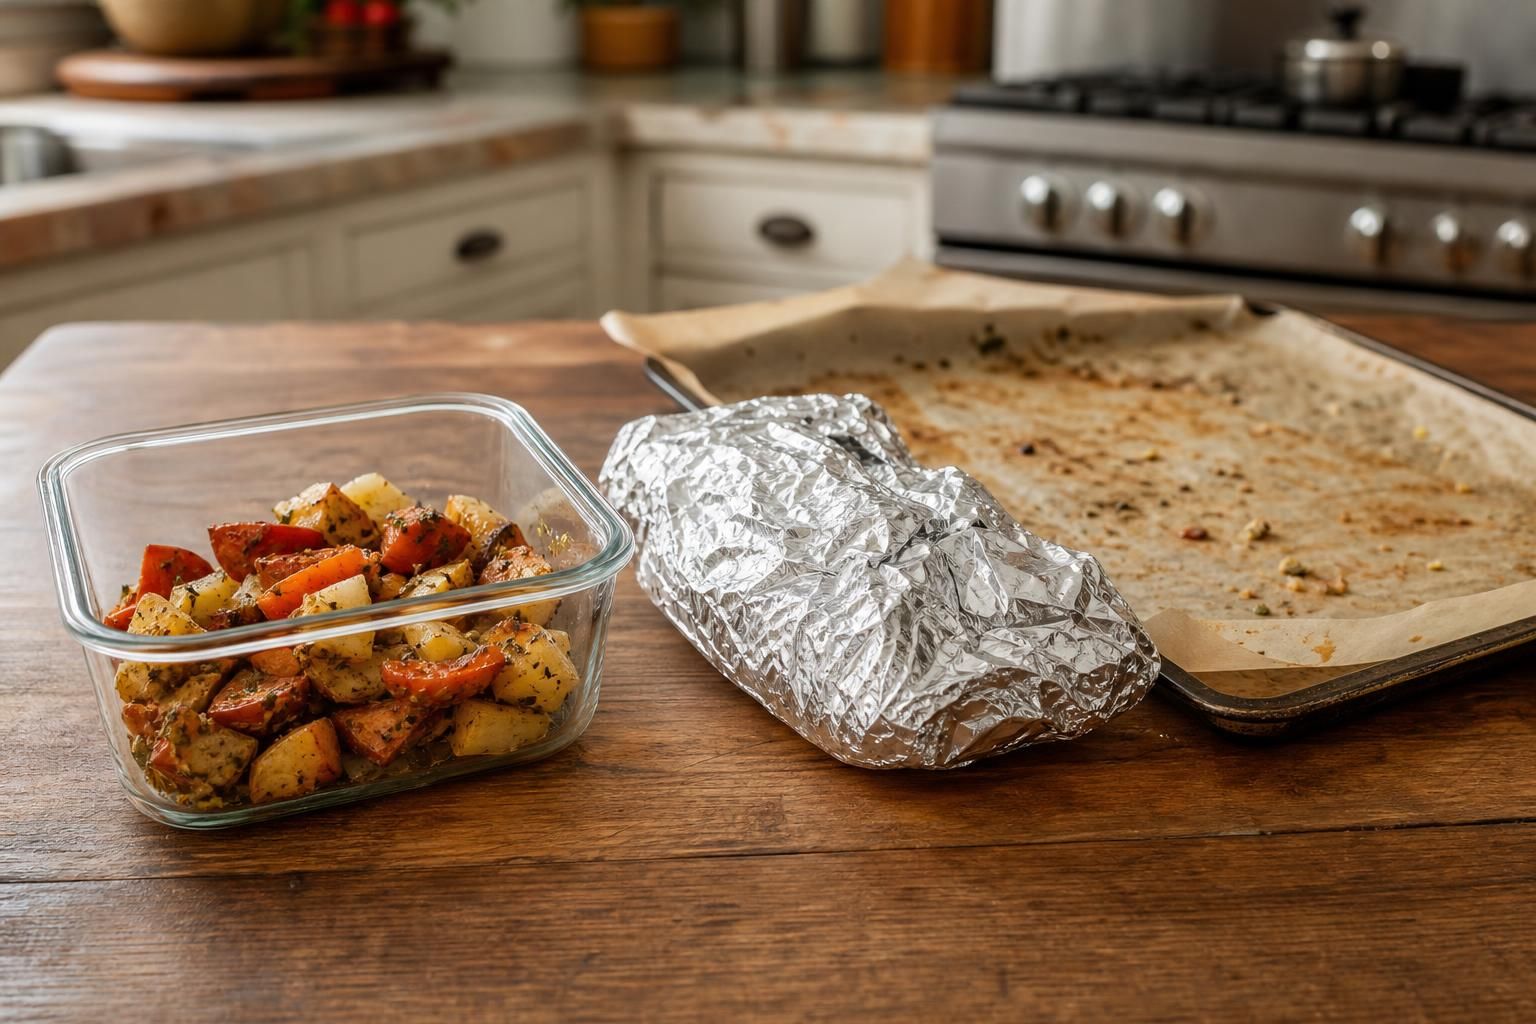
If you are grilling acidic foods such as sliced tomatoes or lemon-heavy mixtures, foil is fine for the cook itself, but do not keep those foods wrapped in foil for extended storage afterward. Move leftovers to glass or another food-safe container once they cool slightly.
For grill grates, foil can help with smaller items, but it is not always the best tool. A grill basket works better for cut vegetables that need more direct heat and some char. Foil blocks some airflow from below, which can soften food instead of browning it.
Wrapping leftovers: short-term convenience, but not for every food
Foil is handy for wrapping a half sandwich, covering a bowl for a few hours, or loosely tenting a cooked roast while it rests for 10 to 20 minutes. It also works well for short refrigerator storage of drier foods like baked potatoes, cornbread, or a few slices of pizza you plan to eat the next day.
But for food storage tips that hold up well, reusable containers are often better than foil. Choose a lidded glass or BPA-free plastic container when:
- the food has a lot of sauce or liquid
- you want a tighter seal against odors
- you are storing portions for more than a day or two
- the food is acidic, such as tomato sauce, citrus-marinated chicken, or vinegar-based slaw
Highly acidic foods can react with foil over time, especially during long refrigerator storage. In a home kitchen, the visible signs are easy to spot: darkened patches on the foil, tiny holes, or bits of foil sticking to the food. If your leftovers include tomatoes, lemon juice, salsa, or a strong vinegar dressing, use a covered container instead of wrapping them in foil overnight after overnight.
Another mistake is wrapping still-steaming food too tightly. Let hot leftovers cool for a short time first so trapped steam does not turn the surface soggy. For a baked potato, for example, unwrap it after baking if you want the skin to stay drier, then rewrap loosely only if needed for brief holding.
Lining pans: convenient for cleanup, but match the liner to the job
Foil earns its place when you are lining a roasting pan for chicken thighs, a sheet pan for broccoli, or the bottom of a broiler-safe pan to catch drips. In these cases, shiny side versus aluminum foil shiny side questions do not affect the outcome. What matters is getting a smooth fit so hot fat does not run underneath.
For best results:
- Use enough foil to cover the pan in one sheet if possible.
- Press it into corners without tearing it.
- Lightly oil the foil if the food tends to stick, unless you are using nonstick foil.
- If using nonstick foil, place the food on the nonstick side as directed on the package.
Foil is less ideal under very sticky baked goods, under raw doughs that spread, or when you want the easiest release. Parchment usually wins there. For casseroles and braises, a fitted lid is often better than foil because it seals more evenly and is easier to remove safely with oven mitts.
Under a broiler, keep foil flat and below the rim of the pan. Do not create tall edges that can get too close to the heating element. If you need to catch drips, use a lower rack position or a properly sized pan rather than adding extra loose foil near the top of the oven.
The simple rule to remember in your kitchen
For plain household foil, the shiny side and dull side are interchangeable in everyday roasting, baking, grilling, pan lining, and quick wrapping. Save your attention for the details that really change results: a tight seal, enough headspace in packets, the right liner for sticky foods, and safe storage after cooking.
When the package gives a side-specific direction, follow it. That is most likely with nonstick or specialty foil. The rest of the time, choose the side that lets you work fastest, then switch to parchment, a lid, or a reusable container when those tools fit the job better.