
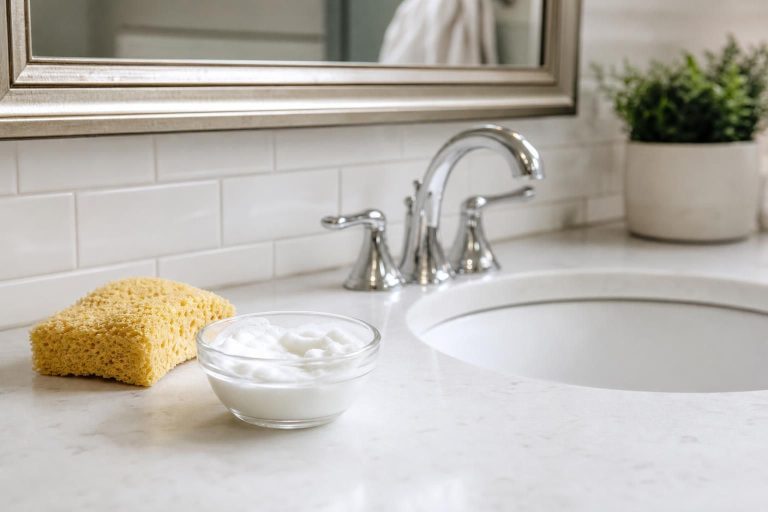
When your bathroom has that dull ring around the sink, cloudy tub film, or sticky buildup on shower tile, a simple mix of baking soda and dish soap can work as a practical scrub. Used on the right surfaces, it helps loosen everyday bathroom grime and lift soap scum so you can wipe and rinse it away without reaching for a harsher specialty cleaner first.
The easiest version is a thick DIY cleaning paste: start with 1/2 cup baking soda and mix in 1 to 2 tablespoons dish soap, then add just enough warm water—usually 1 to 2 teaspoons—to make a spreadable paste. Test it in a small hidden spot, apply it with a soft sponge, let it sit for 5 to 10 minutes, scrub gently, and rinse very well so no chalky film stays behind. That basic method works for many sinks, tubs, shower pans, and glazed tile walls.
What each ingredient does in a bathroom cleaner
This combination works because each ingredient contributes something different in practical, easy-to-see ways.
- Baking soda adds a mild grit that helps lift stuck-on film from hard bathroom surfaces. It also thickens the mixture so it clings better to vertical spots like tile and the lower half of a shower wall.
- Dish soap helps break up oily residue, body-product buildup, and the slick layer that often traps dirt in soap scum. It also helps the paste spread more evenly.
Together, they make a useful tub and tile cleaner for routine messes: cloudy rings, toothpaste splatter, light mildew staining on non-porous surfaces, and the general grime that builds up in a busy bathroom. The mixture is most helpful when the surface feels filmy rather than deeply stained.
The key is consistency. If the mix slides down the wall like pancake batter, it is too thin. If it crumbles and will not stick to a damp sponge, it is too dry. Aim for a texture like soft frosting or thick toothpaste.
How to mix a DIY cleaning paste that actually stays put
For most jobs, this small batch is enough for one sink plus a short stretch of tile, or for one average bathtub floor and sides:
- 1/2 cup baking soda
- 1 to 2 tablespoons liquid dish soap
- 1 to 2 teaspoons warm water, only if needed
Put the baking soda in a bowl first. Stir in 1 tablespoon dish soap. If the paste still looks dry and sandy, add the second tablespoon. Only then add water, 1 teaspoon at a time, until the paste becomes creamy and spreadable.
If you are cleaning a larger shower surround, double the batch. If you are cleaning only a faucet base and sink rim, cut the recipe in half. Try to mix only what you will use that day; the paste is easiest to work with when freshly made.
Before applying it widely, wipe away loose hair, dust, or grit. On any unfamiliar finish, test a spot about the size of a quarter in a low-visibility area. Wait until the area dries fully and check for dullness or fine scratching before doing the rest.
How to use it on sinks, tubs, tile, and shower areas
The same general method works across most common bathroom cleaning jobs, but the amount and dwell time should match the surface and the level of buildup.
Sinks
- Wet the sink lightly with warm water.
- Apply a thin layer of paste to the basin, drain edge, and faucet base.
- Let it sit for 3 to 5 minutes.
- Scrub with a soft sponge or non-scratch pad, using small circles.
- Rinse thoroughly with warm water.
- Buff dry with a clean cloth so you can see whether any film remains.
This works especially well for toothpaste drips and the gray film that collects near the drain. Around metal fixtures, keep the scrubbing pressure light.
Tubs and shower pans
- Rinse the surface first with warm water.
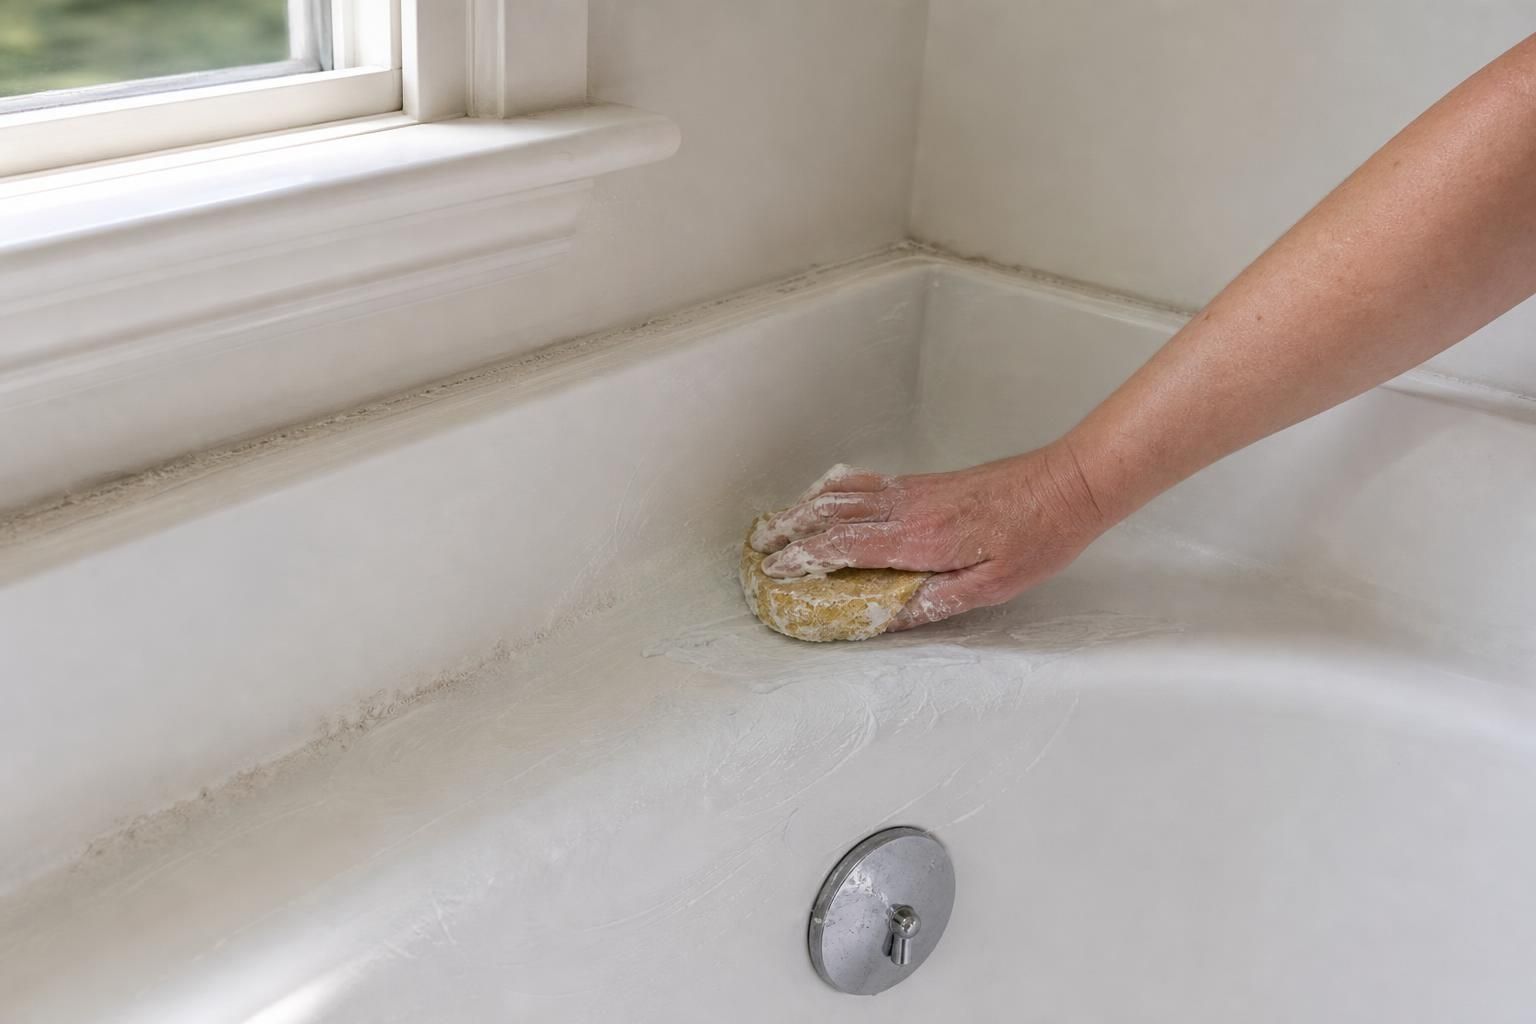
- Spread the paste over soap-scum bands and textured spots.
- Let it sit for 5 to 10 minutes.
- Scrub gently with a soft sponge, reapplying a little paste to stubborn areas.
- Rinse until the surface no longer feels slippery or powdery.
If the tub floor still feels chalky after rinsing, there is leftover baking soda. Go over it again with clean warm water and wipe with a damp cloth.
Glazed tile and shower walls
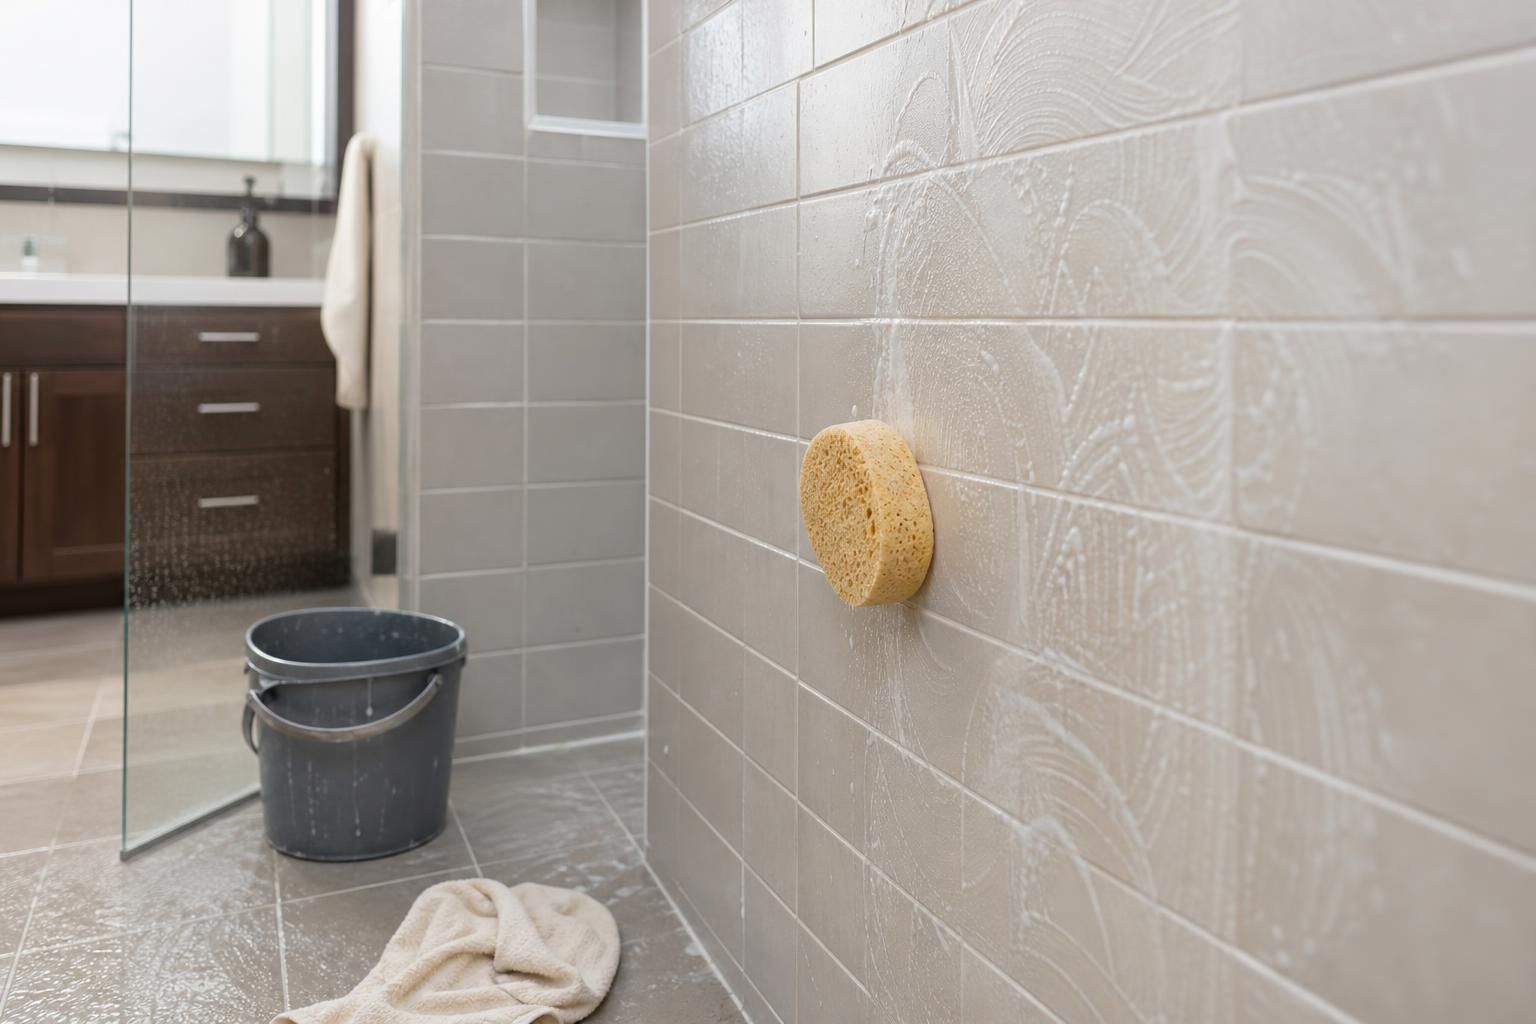
- Work in sections about 2 feet by 2 feet.
- Apply a thin coat, especially where soap scum is visible at shoulder height and below.
- Let it sit for 5 minutes; on heavier buildup, up to 10 minutes.
- Scrub with a soft sponge or a soft-bristle brush for grout lines.
- Rinse each section before moving on.
Do not let the paste dry rock-hard on the wall. If it starts turning crusty or flaky before you scrub, mist it lightly with water or wipe it sooner. A dried layer takes longer to rinse and can leave residue in grout texture.
Where this mixture should not be your first choice
This cleaner is useful, but it is not for every bathroom surface. Skip it on delicate natural stone such as marble, limestone, travertine, or soapstone. Those surfaces can be dulled by the wrong cleaner and by abrasive scrubbing, even when the scrub feels mild in your hand.
Also avoid using it on:
- High-gloss or easily scratched finishes
- Acrylic tubs or shower surrounds if the manufacturer warns against abrasives
- Refinished tubs, which often need extra-gentle care
- Mirrors, glass shower doors, and polished metal where baking soda residue can leave a visible film
- Unsealed grout or porous surfaces that trap paste in tiny openings
On these materials, choose a gentler, non-abrasive cleaner instead of forcing this baking soda and dish soap method to do every job. If you are unsure what your tub or vanity top is made of, check the care paperwork or test in the least visible corner first.
Common mistakes that make bathroom cleaning harder
The most common mistake is making the mixture too runny. A watery blend slides off tile, pools in corners, and wastes your effort. Start thick and adjust slowly. You can always add another teaspoon of water, but fixing a soupy mix usually means adding more baking soda and starting over on the ratio.
Another mistake is scrubbing too aggressively. If you bear down hard, the cleaning power comes less from the ingredients and more from force, which raises the chance of scratching. Let the paste sit first, then use light to medium pressure. If buildup remains after one pass, do a second short application instead of pressing harder.
A third mistake is using too much at once. A heavy layer does not clean better; it just takes longer to rinse. A coat about 1/8 inch [3 mm] thick is plenty for most areas.
And do not mix this paste with other cleaners. Do not add bleach, ammonia, peroxide, vinegar, or a disinfectant product to the same bowl. Keep the method simple: one cleaner at a time, full rinse between products if you plan to use something else later.
If residue keeps showing up after the surface dries, the issue is usually one of two things: the paste was too thick to rinse easily, or it sat too long and dried on the surface. Next time, use a thinner coat and rinse section by section.
How to fit it into a real bathroom-cleaning routine
For many homes, this scrub works best as a weekly or every-other-week treatment for buildup zones: around the drain, along the tub waterline, on the shower floor, and on lower wall tile where soap lands most. In between deeper cleanings, a quick rinse of the shower after use and a wipe of the sink basin can keep grime from hardening into a bigger job.
If you are cleaning during a humid season, turn on the bathroom fan or open a window if possible. Better airflow helps surfaces dry fully after rinsing, which makes it easier to spot any missed residue.
Keep your approach simple: mix a thick paste, test first, spread it with a soft sponge, give it a short sit time, and rinse well. On the right surfaces, that is often enough to make sinks, tubs, and shower areas look clearer and feel cleaner without overcomplicating bathroom cleaning.